Microsoft has released Windows Server 2016 Technical Preview 5 (build #14300). You can see what’s new here. This could probably be one of the last few TP (tech preview) builds that we will see. Especially so if Microsoft is still firm on their plans to officially launch Windows Server 2016 this summer (Q3 2016).
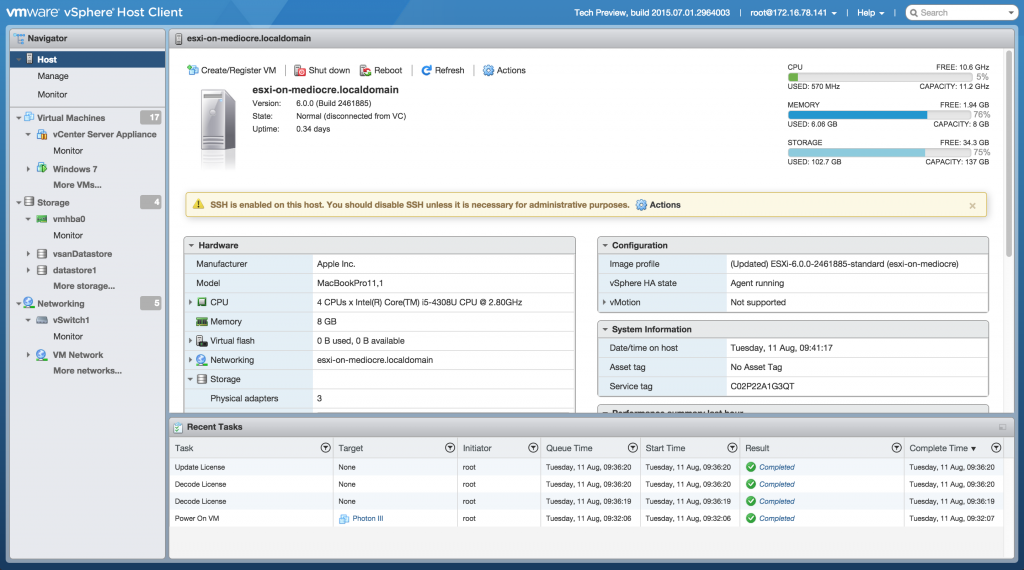
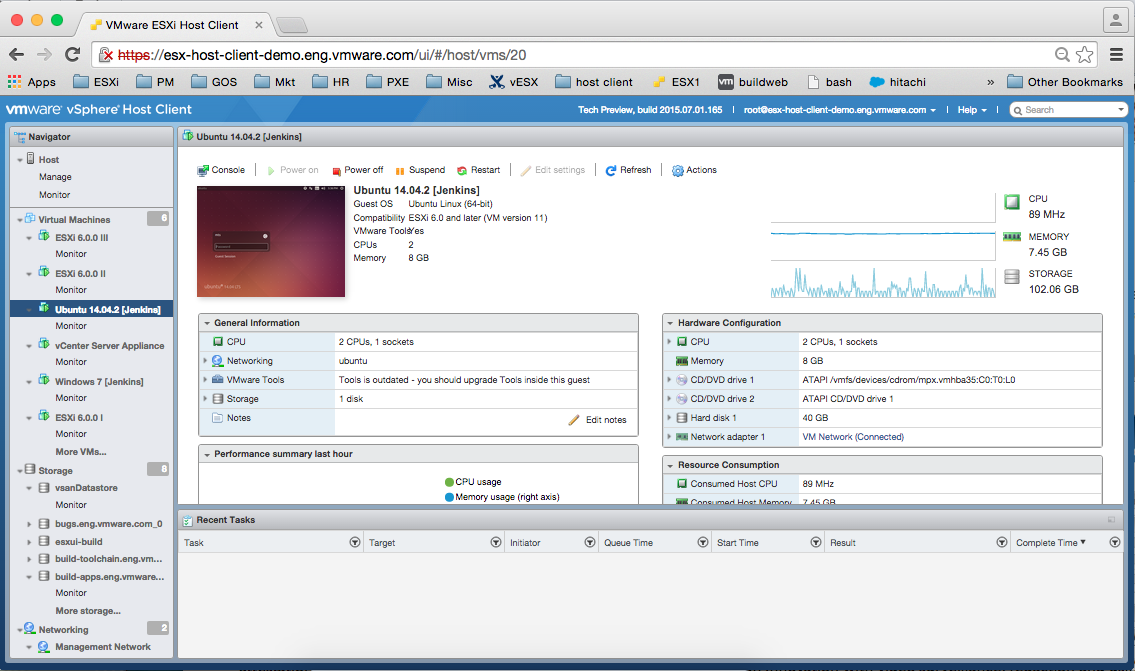
As long as you are running VMware ESXi 5.5 or higher (6.0 or later is recommended) then Windows Server 2016 is an supported operating system on VMware. You can even select it as an option for the guest OS on virtual machine version 11 or higher. Keep in mind that VMware VM version 11 restricts you to using the web client ONLY. When moving from a previous version of Windows Server to Windows Server 2016 Technical Preview 5, you will need to uninstall the previous version for a clean installation of Technical Preview 5. You can download TP5 as an ISO, however Nano server is only available in VHD format. See Getting Started with Nano Server for full details.
Personally I was never a fan of Windows 8.x or Server 2012. So far I think that Windows Server 2016 is already step in a better direction. Even in technical preview it offers many improvements of it’s predecessor. Windows Server 2016 Technical Preview 5 provides a wide range of new and enhanced features and capabilities spanning server virtualization, storage, software-defined networking, server management and automation, web and application platform, access and information protection, virtual desktop infrastructure, and more. The GUI version or what is now referred to by Microsoft as the “Desktop Experience” is my current de-facto standard. If you use or have seen Windows 10 then right out of the box you will notice that Server 2016 is a stripped down, optimized, server version of Windows 10.
Choose Standard or Datacenter edition, depending on the features you need:
- Windows Server 2016 Standard
- Up to 2 VM’s or Hyper-V containers
- Unlimited Windows containers
- New Nano Server deployment option for “just enough OS”
- Windows Server 2016 Datacenter
- Unlimited VM’s and Hyper-V containers
- Unlimited Windows containers
- New Nano Server deployment option for “just enough OS”
- Shielded VM’s and Host Guardian Service
- Storage features, including Storage Spaces Direct and Storage Replica
- New networking stack
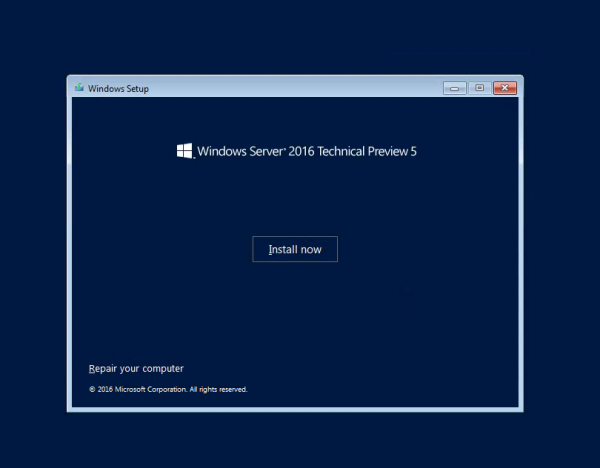
Windows Server 2016 Technical Preview 5 Gallery:
-
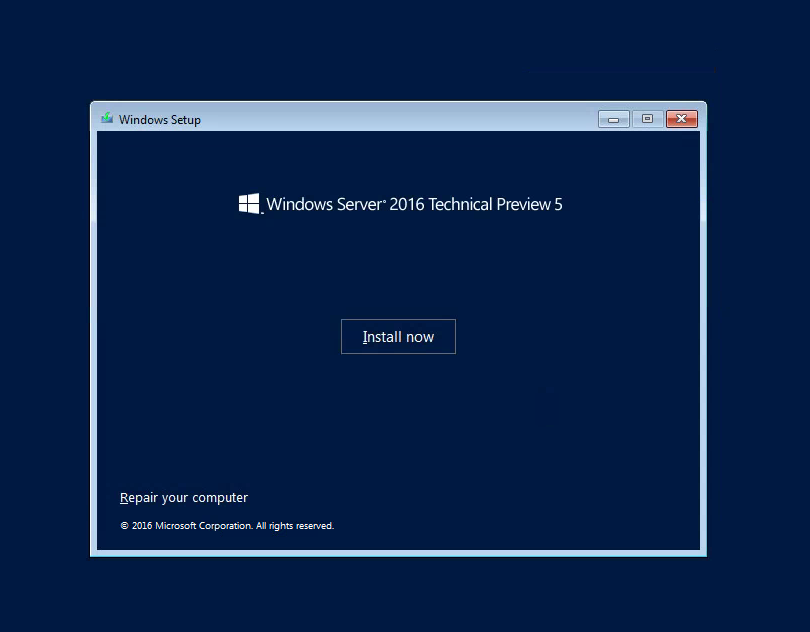
- Install
-

- Boot
-
- Login
-

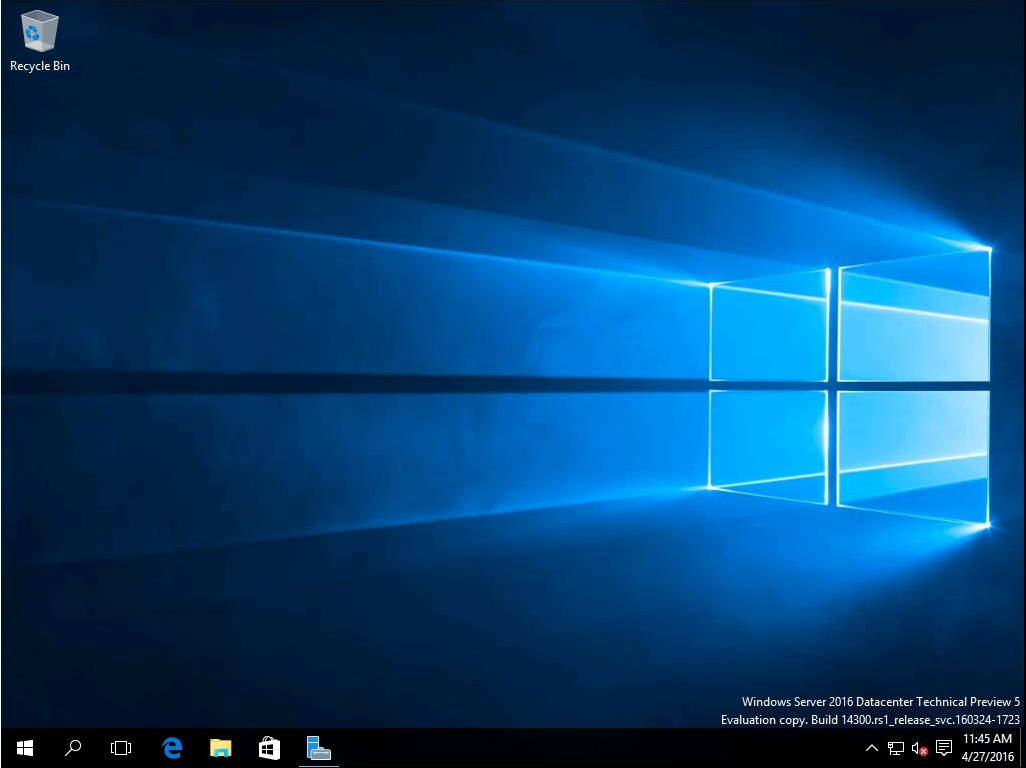
- Desktop
-
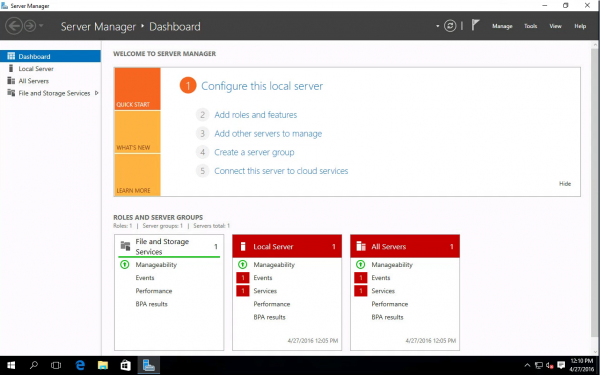
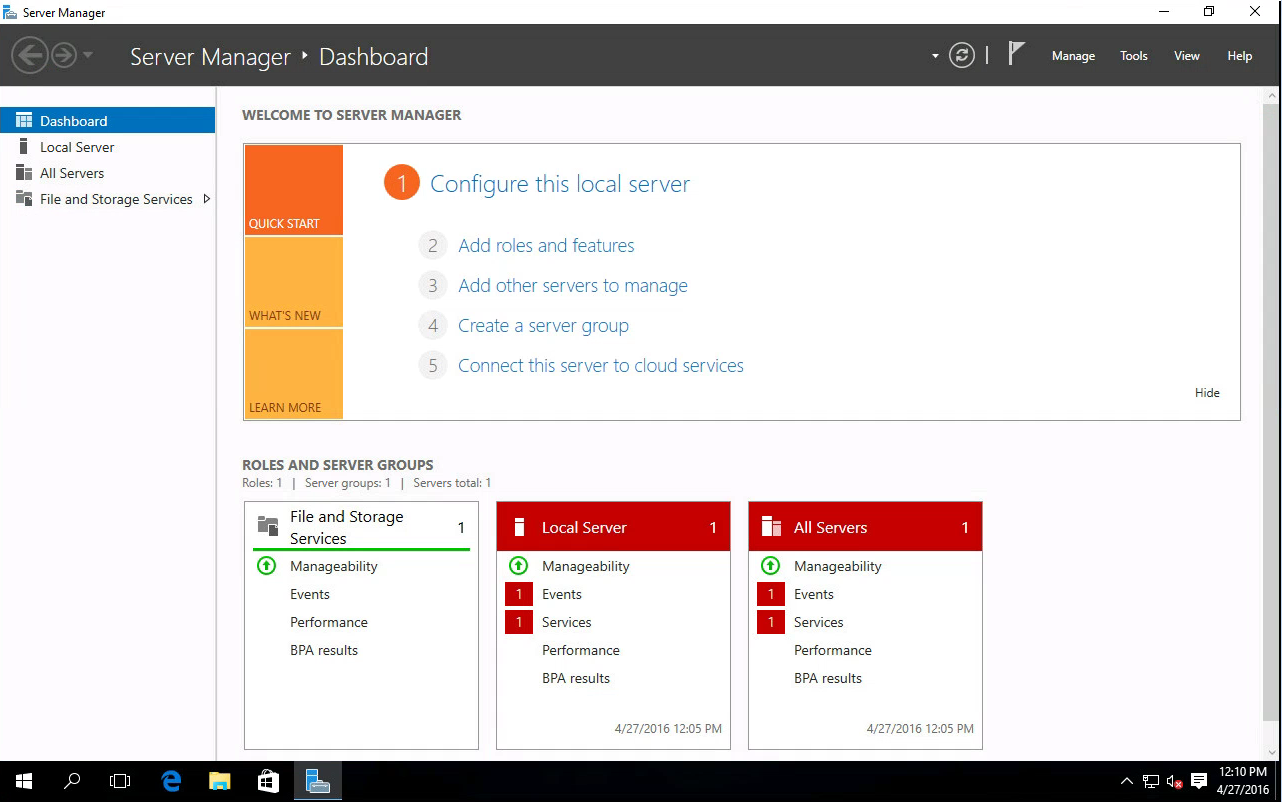
- Server Manager
-
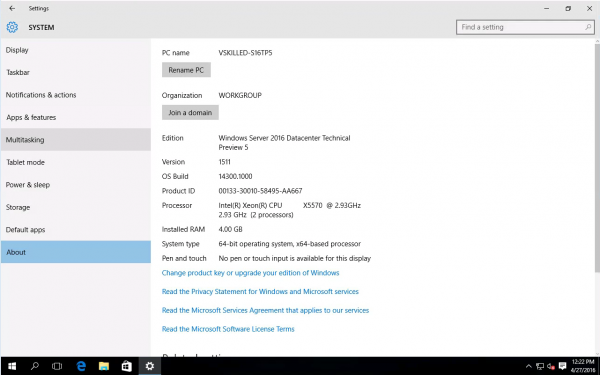
- System Info

Overall Technical Preview 5’s new features seem to be focused on Hyper-V, Networking, Storage, Nano Server and Security. In Server 2016 you will also find Windows Defender and “Windows Server Antimalware” is installed and enabled by default.
The introduction of Host Guardian Service (HGS)’s new feature Shielded Virtual Machines which focuses on the security of virtual machines running in the Hyper-V environment. The goal of shielded VMs and Guarded Fabric is to help provide service providers and cloud operators the ability to offer their tenant administrators a hosted environment where protection of tenant virtual machine data is strengthened against threats from compromised storage, network, and host administrators, as well as malware.
This is just a quick post showcasing the new tech preview build. I will have a more in-depth view of all of these features and more when a release candidate build is finally available.
What do you think of Windows Server 2016 so far? Comment below!