NAS3 SSD Upgrade

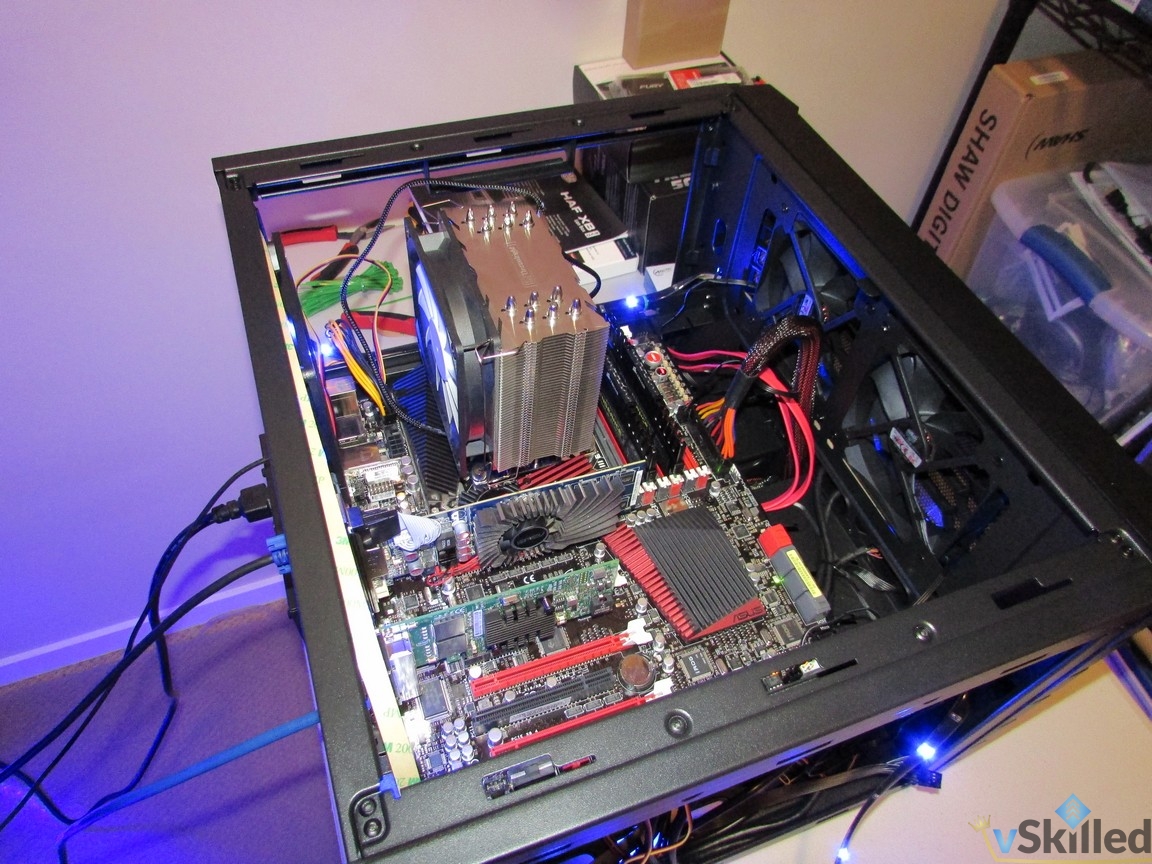
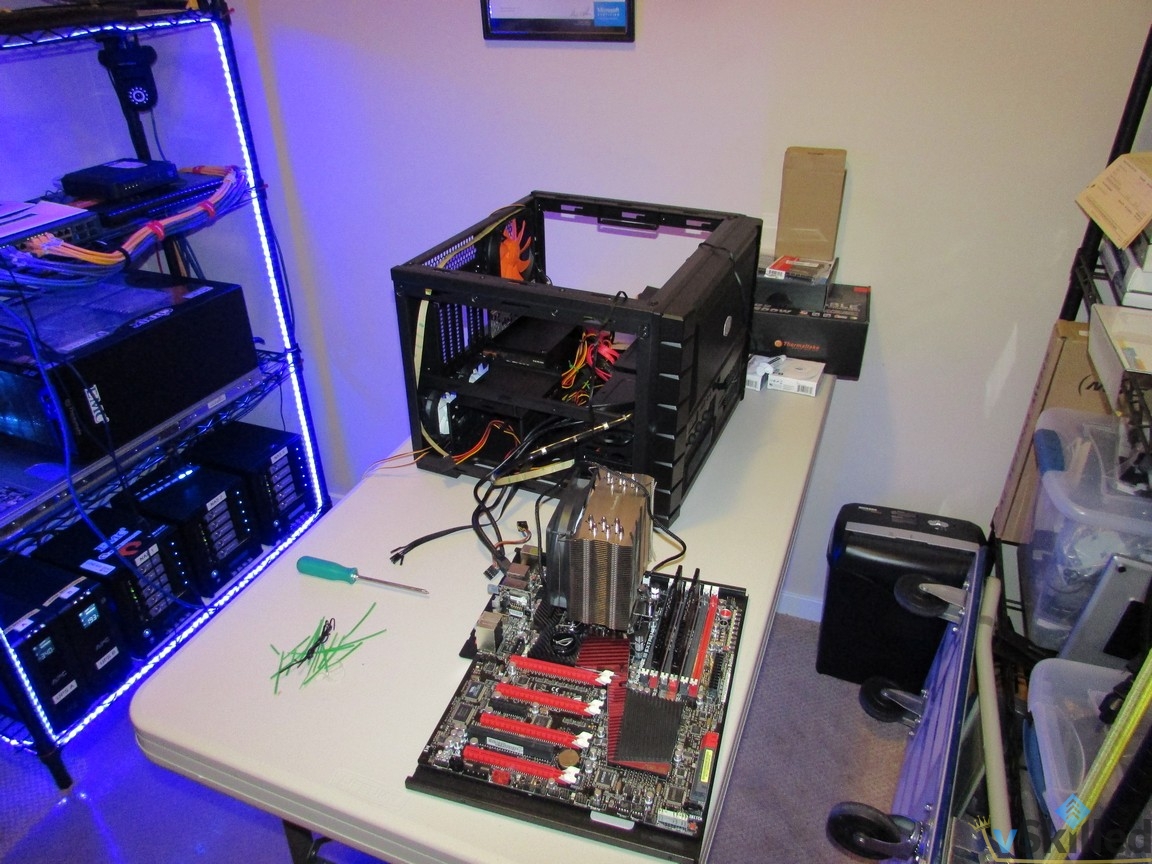
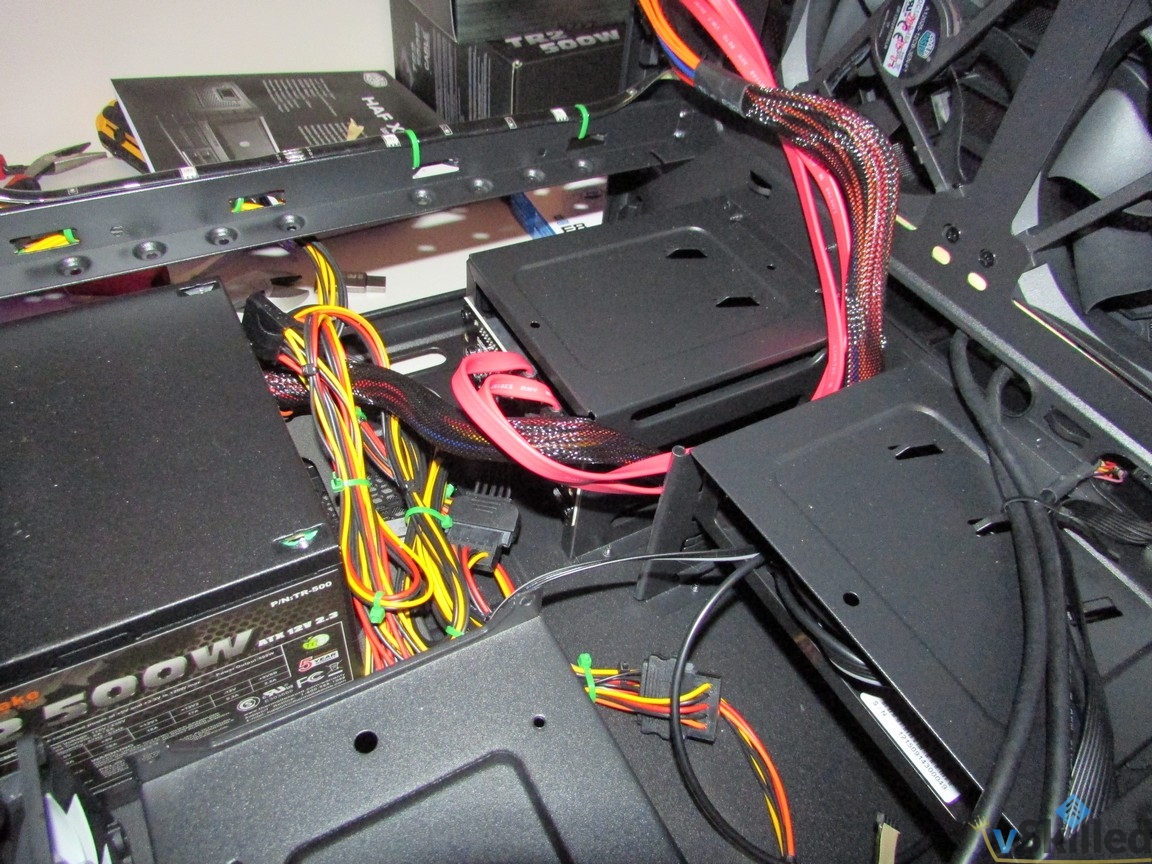
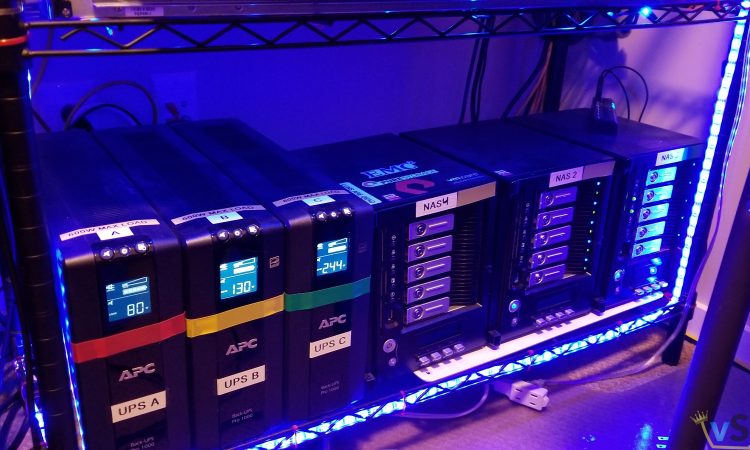
This week NAS3 got a storage upgrade from 128GB SSD’s to 500GB SSDs. NAS3 is my SSD NAS which is used for hosting virtual machines.

NAS3 has been running with the 128GB SSD’s for many years now. In fact I paid more for the 128GB SSD than I did for the 500GB SSD. However that was exactly my reasoning for waiting so long to upgrade. NAS3 is not intended to be a performance beast since it’s limited to 1Gbps networking. It would literally be a waste to use high end SSDs in this machine.

Choosing an SSD is sometimes a difficult decision. You have to weigh the performance, cost, and endurance (quality) of the drive. Especially so in a NAS or RAID environment where SSD’s “total bytes written” or “TBW” endurance rating will become a factor.

I paid $90/each CDN for five Crucial MX500 500GB 3D NAND SATA 2.5 Inch Internal SSD – CT500MX500SSD1(Z).

I don’t like using a parity RAID with SSD’s because you will wear them out faster, but in this case I simply don’t care. I would rather have a little redundancy with the trade off of a faster wear rate. Considering the old 128GB SSD’s have been running in RAID5 for many years now as well, from my experience it’s not a big issue.

In RAID5 the disks give me 1.81 TB of usable SSD space. Compared to about 477 GB before. So big upgrade in comparison.

This upgrade should last a few years at least. The next storage upgrade for the SSD side will be getting rid of the ancient Thecus N5550’s and replacing them with a Synology NAS. But that’s a future wish-list.

Hope you enjoyed reading. If so please drop a like or share.

Whoops! My Samsung 950 PRO M.2 512GB SSD experience

Samsung-950-Pro-SS

This story is a bit of a sad story. Mainly due to the failure of my own personal oversight over a very important specification requirement and snowballed by my online shopping addiction.

For a little back story – I had been reading great reviews all over the internet about Samsung’s new 950 PRO 512GB M.2 NVMe SSD drive having amazing benchmark speeds. This drive features cutting-edge V-NAND-based NVMe SSD supports PCI Express Gen 3 x4 lanes, providing a higher bandwidth and lower latency to process a massive amount more data than SATA SSDs. It outperforms SATA SSDs by over 4.5 times in sequential read and by over 2.5 times in sequential write, delivering the speeds of 2,500 MB/s read and 1,500 MB/s write respectively. I have never purchased or used a M.2 drive before, so this would be me venturing into a bit of an unknown territory.

I wanted to get my hands on one of these really badly! I knew my motherboard (Gigabyte X99 G1) had a M.2 slot so I checked the website to confirm and at a glance everything appeared to be right… So I pulled the trigger and purchased it. Patiently waited 2 weeks for it to arrive. Finally, I was able to install the drive after some frustration with BIOS settings and drivers. But something wasn’t right… I was concerned as to why I was getting a little under half of the speed other people were getting on their benchmarks. What gives?

Well… lets take a closer look at my mother board specifications again. It is the Gigabyte X99 G1:

000250_2016-01-22 09_17

See that..!? Notice the “PCIe x2/x1“? The Samsung 950 PRO 512GB is a PCIe 3.0 x4. So that means that on my motherboard the M.2 drive is operating at literally under half the bandwidth that it’s capable of running at. Only at this point, having the drive purchased and installed, did I realize that there is a major difference between “M.2”  and “Ultra M.2” which also known as PCIe 3.0 x4 which supports up to 32 Gb/s (4 GB/s) compared to PCIe 2.0 x2 which would only support 8 Gb/s (1 GB/s).

nooooooooo

That means for a M.2 drive using PCI-E 2.0 x2, it only has a 25% potential speed increase over SATA III. Not exactly what I was going for considering the $329 USD price I paid. This means for me to be able to use the drive at full speed I will need to find a motherboard with a LGA2011-v3 CPU socket and a Ultra M.2 socket. A harsh lesson to learn and a fix I will have to put off for some time. Luckily I may be able to just get a M.2 x4 to PCIe adapter to fix this problem.

In the end I can only laugh at myself as a technical professional to make a mistake like this – but hey this is my story and hopefully it may help you avoid making the same mistake. Check to ensure your motherboard’s M.2 interface version supports PCIe 3.0 x4  NVMe 1.1!


Update 1/28/2016:

Fixed! Thanks to the $30(CAD)  Addonics ADM2PX4 M2 PCIe SSD to PCIe 3.0 4 Lane Adapter.

2016-01-28 16_48_52

The Samsung Magician software is also showing that I am using all four lanes, instead of just two!

2016-01-28 17_02_32

Here’s a bonus benchmark of another Samsung drive I have with RAPID mode (RAM cache) enabled. :O
2016-01-28 16_42_33


Do you have a story to tell about your M.2 drive experences? Let me know in the comments below!

Storage Refresh 2016 – Time to Build! (Part 2)

IMG_0254

Part 1: http://www.vskilled.com/2015/07/storage-refresh-2016-the-plan/

The hard drives have arrived today from NCIX and it’s now time to build it out to finally increase the storage capacity in my home lab. I’ve made only minor changes to the original plan; I ended up shying away from the Seagate 8TB archive hard drives I had originally planned on buying to use strictly for backup purposes. Much like 3TB drives, I just don’t have any confidence in them long-term.

DeviceCurrent Drive LayoutCurrent CapacityDesired Drive LayoutDesired Capacity
NAS 1 (Thecus N5550)5 x 2TB (RAID 5)7.21TB5 x 4TB (RAID 5)16TB~
NAS 2 (Thecus N5550)1x4TB, 2x2TB, 1x1TB, 1x640GB (JBOD)8.9TB5 x 2TB (RAID 5)7.25TB~
VMH01 (Dell C1100)1 x 1TB1TB2 x 8TB, 2 x 2TB (JBOD)20TB~

The end result stays the same. I’m looking to end up with two large data/media storage pools with about 22TB of usable storage. A considerably large increase from my existing data capacity of 7.21TB.

The challenge now is performing a safe and successful data migration to the new storage. Normally I use NAS2 as my backup/archive NAS. I am going to remove the drives from it and move some of them into my VMH01 (Dell C1100) and create a temporary datastore to backup of all the data on there. That way I can safely create a backup of the data and still be semi-protected by RAID.

After some careful scavenging through some documentation I found that I would probably be able to swap the disks from NAS2 and move them into NAS1 without losing any configuration or data. However this is risky, so I will store a 3rd copy of my data on a JBOD  on “BackupSrv”. In this case the risk is worth the reward if it pays off because I will be saving myself from having to copy the data from the BackupSrv JBOD again, and worst case scenario I still have the data on the drives so I can just swap then back if I needed to roll-back the change.

The Step-by-Step Action Plan:

  1. NAS2: Destroy JBOD, power-off, remove drives
  2. VMH01: Add 1x4TB, 1x2TB, 1x1TB. (Add to BackupSrv VM)
  3. BackupSrv: Create JBOD datastore for backup
  4. NAS2: Add 5x4TB NAS drives, build raid, re-configure NFS, rsync, ftp, etc
  5. NAS1: Full rsync backup to BackupSrv & NAS2, verify data
  6. Power-off both NAS1 and NAS2.
  7. Swap disks from NAS2 into NAS1, NAS1 into NAS2. Power on, cross fingers.
  8. Verify data and shares. It works!
  9. Data Migration Completed
  10. Cleanup: Reconfigure Rsync Backup Schedules
  11. Cleanup: Update Home Lab page, CMDB, Wiki
  12. Cleanup: Permissions on shares

* – Veeam Backup Repository moved temporarily to NAS1 (approx 600GB~)
* – NFS datastores + permissions will be lost during a RAID rebuild
* – Printer Scan-to-FTP Setup


Lets take a look at our storage now:

000204_2015-11-09 08_47


Excellent. Now I have a large RAID5 14.5TB share for media/data storage, another RAID5 7.26TB share for more data storage, and another 7TB of disks in JBOD for archive/backups. I have a LSI MegaRaid MR SAS 9260-8i 8 Port SAS Raid Card on the way to properly archive/backup JBOD the drives so that I can present the disks more cleanly to a backup VM.

New ESXi Server Build – VMH02 Replacement

IMG_0184

This build was originally meant to be a remote ESXi server for my parents place, but I’ve ended up liking this new build so much I’m going to have to keep it for myself. So what I’ll be doing is finishing up this build for my lab and swapping my current 2nd ESXi host (VMH02) to be my MediaPC, and finally re-purposing the MediaPC hardware as an ESXi host for the original plan of the remote lab.

I sort-of figured in the beginning of this remote lab project that I could end up falling in love with the build and deciding to keep it, and well… here we are. I really like the new case (Cooler Master HAF XB EVO ATX) and I’ll be buying another of them for the remote ESXi lab. It’s big/open, lots of fan slots, easy to use and cable manage. That and now that I know how to work with the case properly on the next build it will be super easy to plan out and execute.

ComponentPart NameCost (CAD)
CPUIntel® Core™ i7-950 Processor$50 (used)
MotherboardASUS Rampage III Extreme LGA 1366 Intel X58 SATA 6Gb/s USB 3.0 ATX Intel Motherboard $50 (used)
RAMKingston HyperX Fury Memory Black 16GB 2X8GB DDR3-1866 CL10 - and -
Corsair Vengeance 16GB 2X8GB DDR3-1866
$120
Power SupplyThermaltake TR2 500W Power Supply Cable Management ATX12V V2.3 24PIN With 120mm Fan$50 (have)
CaseCooler Master HAF XB EVO ATX$110
NetworkIntel I350-T4 PCI-Express PCI-E Four RJ45 Gigabit Ports Server Adapter NIC$60
Fans / MiscNZXT Hue 3 RGB Color Changing LED Controller, 2 x 80mm (buy), 1 x 200mm (have), Thermal Compound$50
CPU CoolerCorsair Cooling Hydro Series H60$70
~$560

Once replaced the new VMH02 will be an Intel i7-950 with 32GB of RAM. A small upgrade from the previous i7-920 with 20GB of RAM. I was able to get the used Motherboard, CPU, and 16GB Corsair RAM of RAM (see table above) from a buddy for $120 total.  That alone saved me easily about $600, compared to buying new.

Build Progress:

I’ll another update in the coming days on build progress. 🙂

SubPac S1 Tactile Bass Systems Review

s_subpac_desk

As some may know I am a bit of a bass freak / audiophile. My car’s sound system is a great example of this. Music in general is a very influential and important part of my life. I listen to many different genre’s of music and my taste in music changes over time.  Anyway enough about me, this article is about my experience with the SubPac S1.

I had been watching the company called StudioFeed USA LLC for months following the teaser announcements of this product. I had been patiently waiting for the pre-orders to launch for months.  Even after my order was placed it took 2-3 months for delivery because of their initial popularity and the hand-made quality that goes into these things. I couldn’t wait for it to arrive!

The SubPac is a high-fidelity tactile bass system that quietly and directly transfers low frequencies (bass) to your body, providing the physical dimension to sound. As you lean against it (S1) or wear it (M1), you will experience a fully immersive music/sound dimension that truly is the natural, logical progression to the sound experience.  SubPac’s tactile transducers operate similarly to a speaker but vibrations are conducted through the SubPac’s vibrotactile membrane rather than through the air.  The result is an accurate, powerful and immersive experience that traditional speaker systems cannot achieve.

I can’t even begin to describe the size the smile on my face once I hooked this baby up for the first time. The ability to actually feel the music just makes it just so much better. It’s like you’ve got a 2000W sub-woofer built into your chair that only you can hear. I live in an apartment complex so I can’t exactly have my sub-woofer very high, at all. With the SubPac that doesn’t matter anymore. I have never had the intensity knob past the half-way level. It works great for music obviously, but also movies and video games.

My Setup

The SubPac S1 fits perfectly in between the back rest and head rest of my DXRacer computer chair. This makes it literally feel like it’s just a part of the chair. On the previous chair I had it made me sit a bit too far out on the chair and it made it too uncomfortable.

Wiring Setup

I had to do some audio card magic to make this work properly for my desired setup. I still wanted the ability to use my headphones without having to switch and play around with cables when I wanted to use my normal speakers or headphones. I also didn’t want to compromise my surround sound setup with a 3.5mm stereo cable and wanted to continue using the optical cable if possible. Normally you would just hook up the 3.5mm stereo out on your PC to the IN port on the SubPac and then the OUT port to your speakers. However I instead use my normal optical out to my surround speakers but loop-back the audio on the optical to the stereo. I then use a 3.5mm stereo out cable from the PC to the SubPac. This frees up the SubPac’s out port for my headphones permanently, no switching ever required. I drew up a quick diagram to explain this better.

subpac_wiring_diagram_v4

Conclusion

5/5. I would highly recommend the SubPac. Every piece of music you have ever owned that has a full sound will be rediscovered – any new music will be delivered the way it was intended to  – with the energy of the low frequencies physically felt in a visceral way (while not disturbing anyone around you).   The price is easily justifiable from the craftsmanship and quality that goes into building these and how much you will use it (all the time). The whole idea of the SubPac is awesome. SubPac has even helped many hearing impaired people experience music and sound. What an accomplishment!